
1. Make an evite or Facebook event
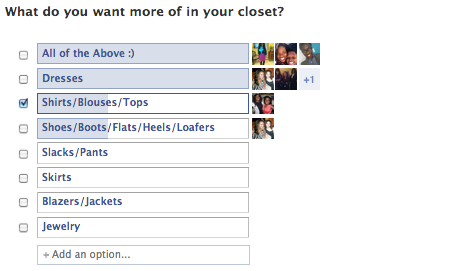
Be sure that you explain what a clothes swap is in the info section of the evite. Many people are apprehensive about swaps because they have no clue what to expect.
Watch this quick video to learn more about clothes swaps:
2. Find a Venue
Depending on the kind of atmosphere you want to create, you need to pick your location wisely. I have been to a clothes swap in a small boutique with strangers (as an attendee) and I’ve hosted many in living rooms of homes with friends. Both were entirely different experiences. The boutique was interesting because I was getting to shop in strangers’ closets. It was nice to meet the other ladies and sample treats from local vendors. The swaps I had in homes felt comfortable and fun. I saw old friends and made new ones. I have concluded that there is no right or wrong location for a swap. You simply need to find a space that is big enough to store and display the clothing, a mirror for guests, and perhaps a private area (like a restroom) where they can try on clothing.
Another thing to consider is the size of the venue. In my experience, it’s best to over-invite. Cancellations are expected of any event. On average, I have about 15 guests at my swaps. This is a good number for such an event. 15 people will provide variety among the clothes, yet it is a small enough number for the event to still have an intimate feel. Make sure the venue can hold the number of invited guests and their belongings.
3. Collect donations

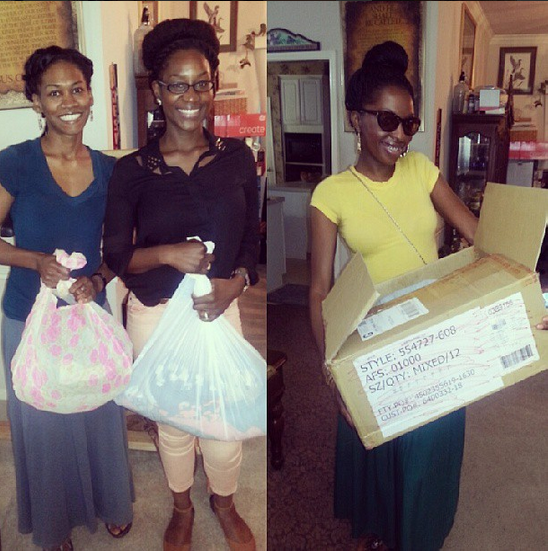
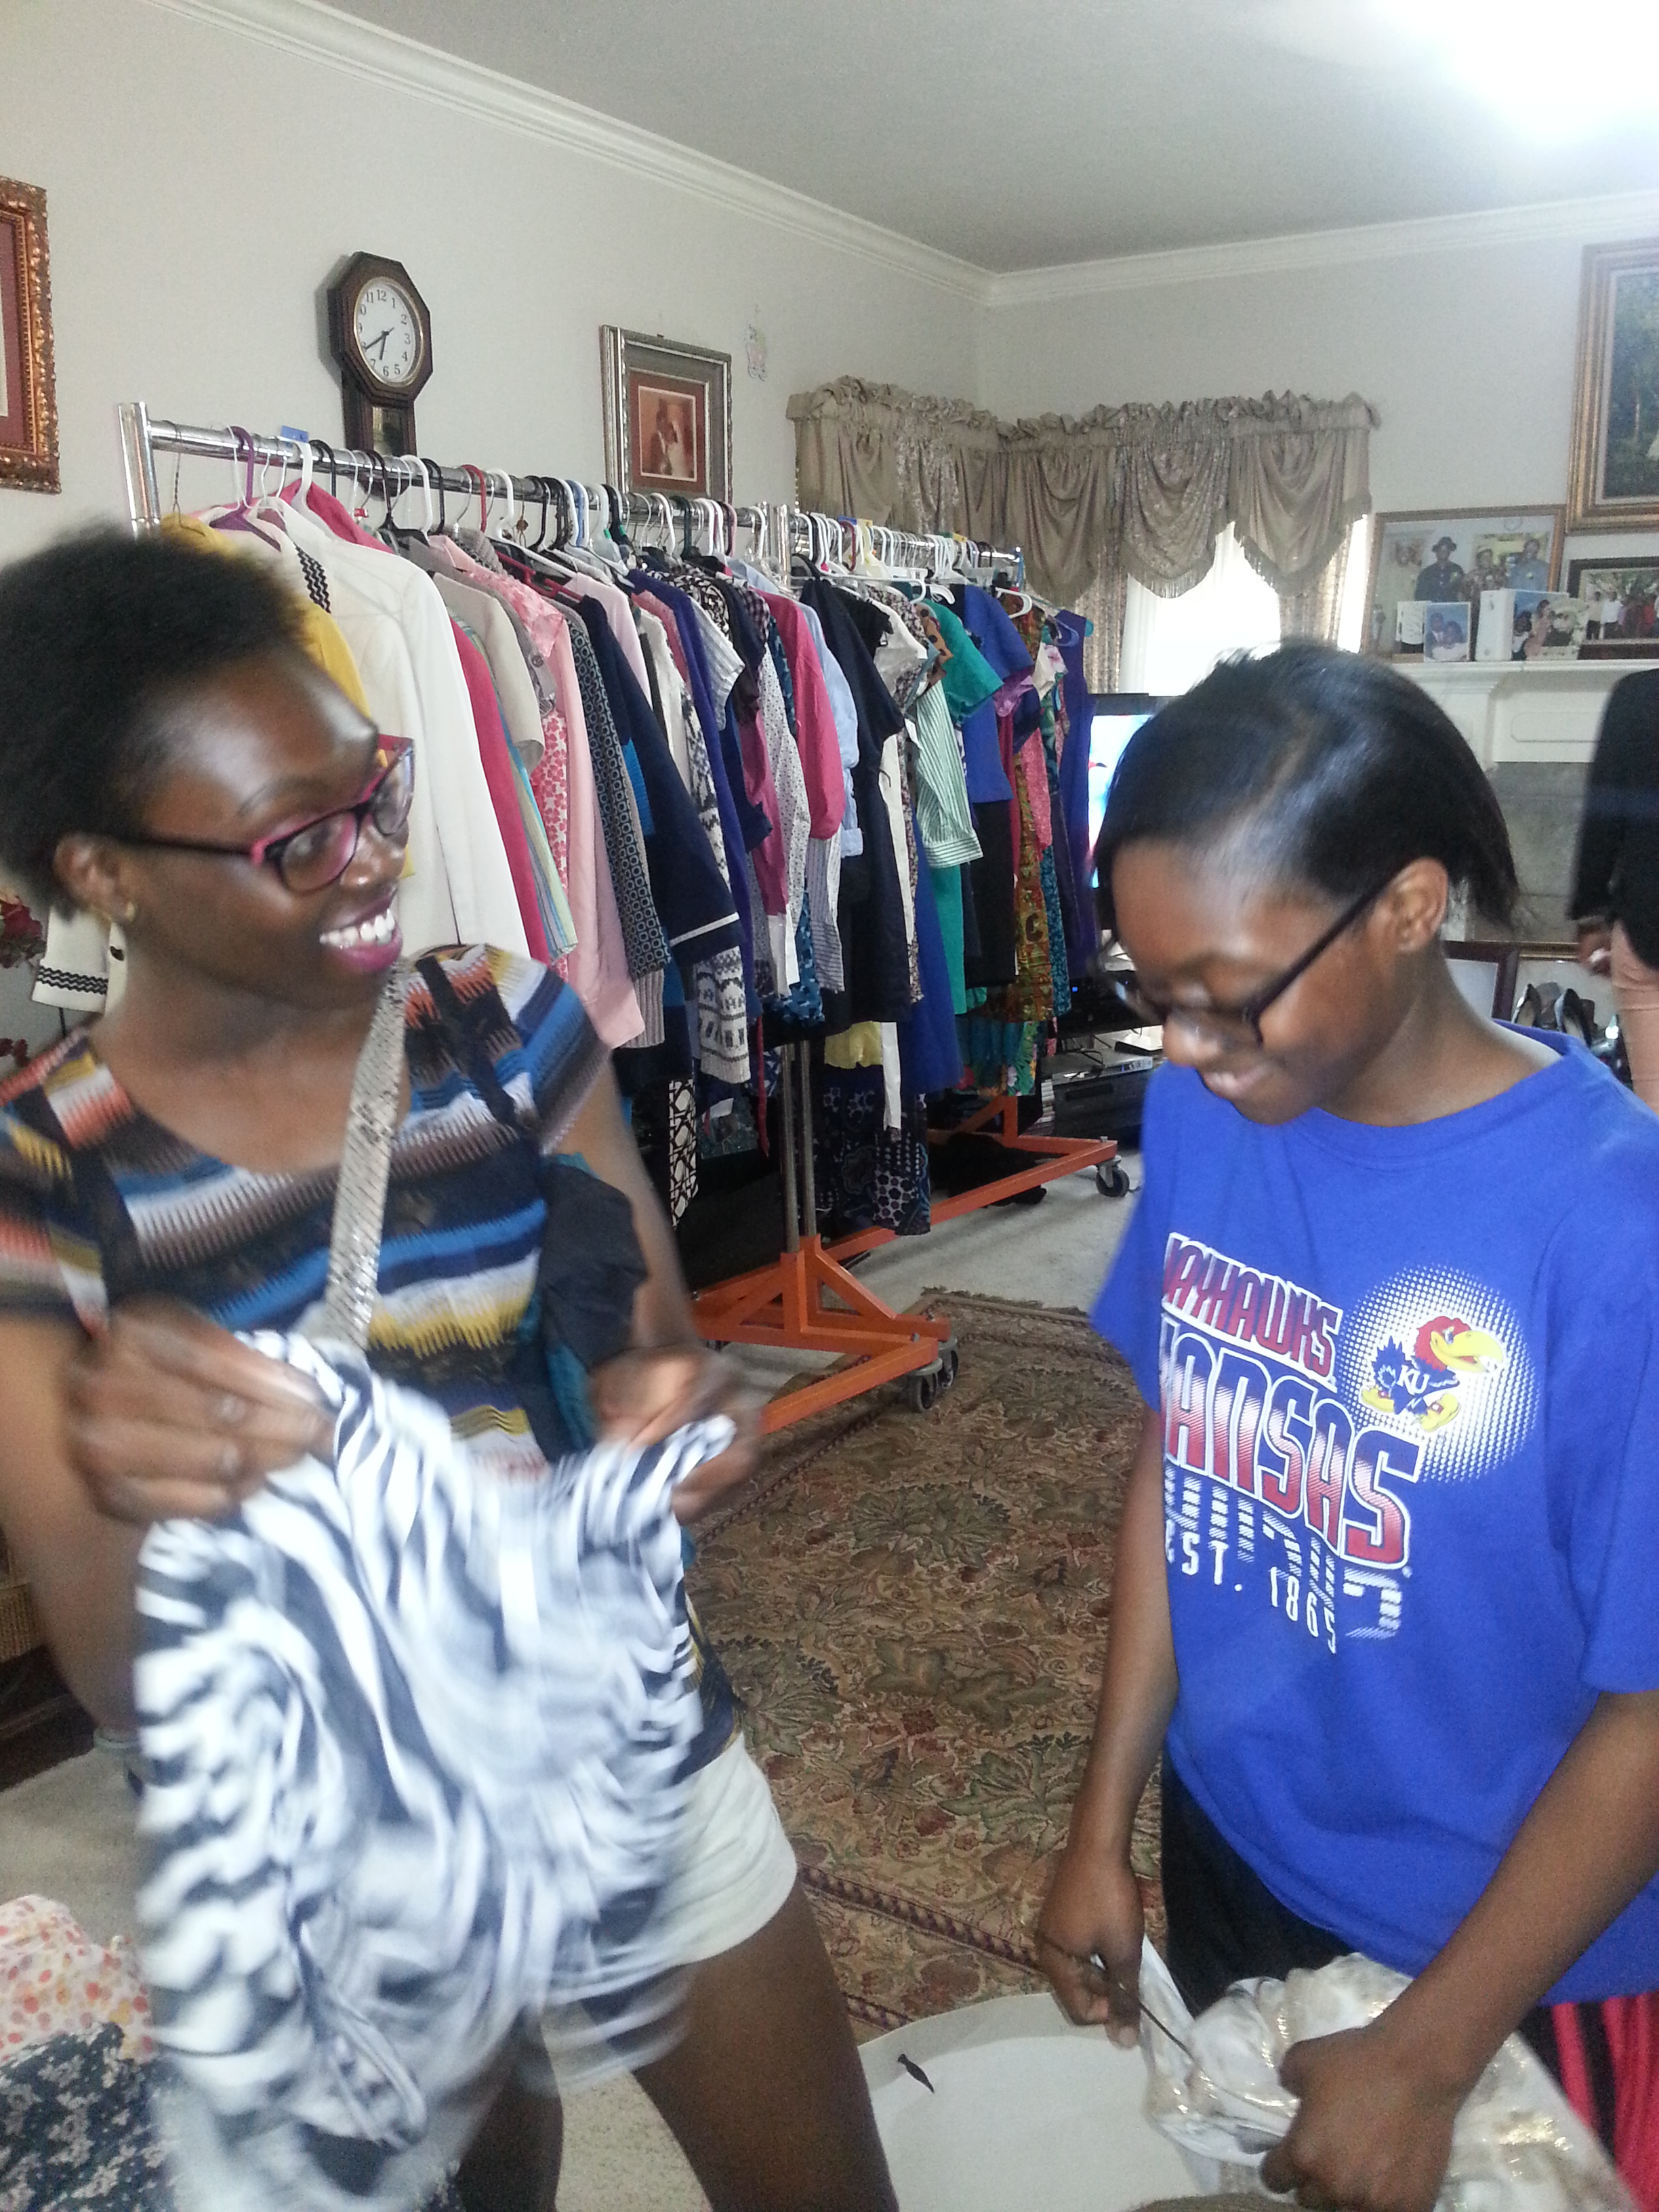
There are a number of ways to get clothes to your swap. First, look in your own closet. Purge it of any items you no longer wear. Wash the items and put them aside for the swap. Then you can send a reminder to your guests to start putting aside some items about a week before the event. Guests often ask me what to bring. I throw the question back to them.
Most guests opt to come to the event with their donations in hand.
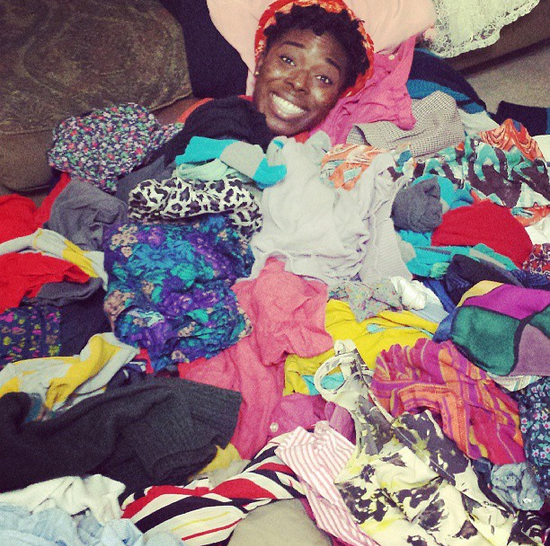
4. Sort through the items (guests can do this themselves)
5. Mix and Mingle
You and your guests should set aside the first 15 minutes of the swap to sort through the clothing. My guests and I enjoyed some light snacks while we waited for the swapping period to pass. The snacking continued as the swap went on.
6. Setup and Organize the items into their designated areas

If everyone sorts and organizes what they brought, the process is much faster.
7. Shop!
Shopping is the easiest and the best part. There are a couple options when deciding how gets are going to shop:
Option #1: One-for-One trade- This means that the more you bring, the more you get to trade.
Option #2: First Dibs Goes to the Highest Giver– The person with the most donations gets to pick their items first
Option #3: Free-for-All– Everyone can shop to the hearts’ content, regardless of how much they brought.
All of my swaps have been free-for-alls. I have never had anyone complain or fight over clothes. The free-for-all has the potential of appearing a little chaotic, but as long as your guests put back the items they don’t want, this option is a lot of fun.
Don’t forget to shop for yourself too. It can be easy to forget that you are a shopper as well when you’re floating around doing host-duties. By all means, help recommend clothes for your guests
8.Choose a charity or resale store to donate the remaining clothes

9. Pack them up and donate them
10. Fill out a donation receipt

If the donation is big enough, it just may help you out on your taxes.
—–
Planning a clothes swap might take some work, but you and your friends will get more out of it than you put in. Give it a try!

It never occurred to me to do something like this before. This is a great idea. Thanks for sharing :)
LikeLike
No prob. If you decide to give it a try, let me know :)
LikeLike
So awesome that you do this! I hope you continue with this once you move!
Shasie
Blogger at Live Life in Style
Founder of Houston Fashion Bloggers
LikeLike
Thanks Shasie! This is my signature event; I have to continue it wherever I go ;)
LikeLike